Grundlagen - vim Text Editor
As pentesters and also administrators, we're going to be working with text frequently—wordlists, configuration files, etc. A lot of this we'll be doing on our own machine, where we have access to whatever editor we prefer. The rest of it will be on remote machines, where the tools for editing will be limited. If nano is installed, we have an easy-to-use terminal text editor, but it isn't very powerful.
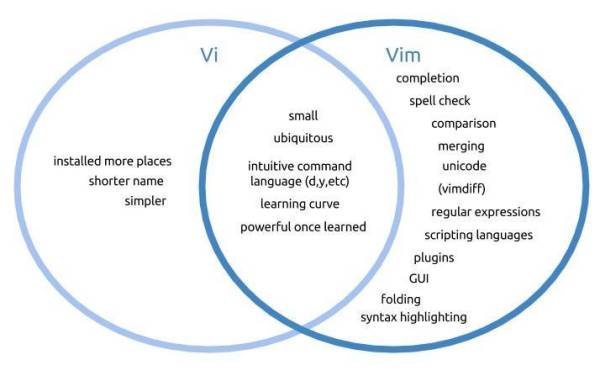
Luckily, most systems will have either vi or vim installed. Vi simply stands for visual, and is a powerful, fast modal text editor that works in either insert mode (where you're typing inside the document) or normal mode (where you input commands for the session). Switching between these sessions is as easy a keystroke, so it's great for those of you who don't like taking your hands of your keyboard.
Vim, which stands for Vi IMproved, has all the features of Vi with some wonderful additions that aid in editing source code. There's also a comprehensive help system and lots of customization options available. Many systems symlink Vi to Vim, including macOS. I personally use Vim for all of my editing on remote hosts.
Vim may seem complicated and unintuitive, but don't worry—it feels that way for everyone when they're just starting out. The trick is to keep at it. The longer you use Vim, the better you will get with it—to the point where you won't even need to take your hands off the keyboard.
This guide will be very introductory. There are entire books written about Vi/Vim, but I want to make sure you know at least the basics so you can get up and operating with it.
Configuring Vim
Our first step is to configure Vim. Since we'll generally be working with code or configuration, we'll want line numbering and syntax highlighting on. Vim can be configured by editing the .vimrc file in your home directory.
Step 1 - Open a Terminal
Open up a terminal session such as putty and ensure you are at your home directory with the command:
# pwd
The terminal should show that you are in /Users/$yourusername. If it doesn't, enter the command: cd
This will change the directory to your home directory.
Step 2 - Edit the vimrc File
Your .vimrc file is where your Vim configurations are stored. As you use Vim, you will start to have more custom configuration in your .vimrc file. I keep a copy of my complex .vimrc on my GitHub, but in general, when you are using Vim on a remote host, unless you are an authorized user, you won't have a custom .vimrc so it's important to be familiar with basic behavior.
In the terminal, enter the command:
# vim .vimrc
This tells Vim to open the file .vimrc. This file may not exist. In my case, I haven't configured .vimrc yet.
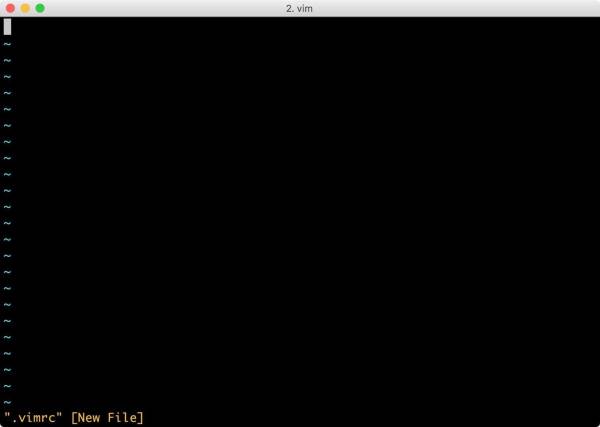
As you can see, this is an empty document. The “~” symbols simply indicate empty lines.
Vim starts up in command mode (aka normal mode), not insert mode. This means that keys pressed will be interpreted as commands for vim and not data entry. In order to get out of command mode, you will need to press i on your keyboard. This enables insert mode. If you were to press a instead, Vim would move the cursor a space to the left and begin insert mode there.
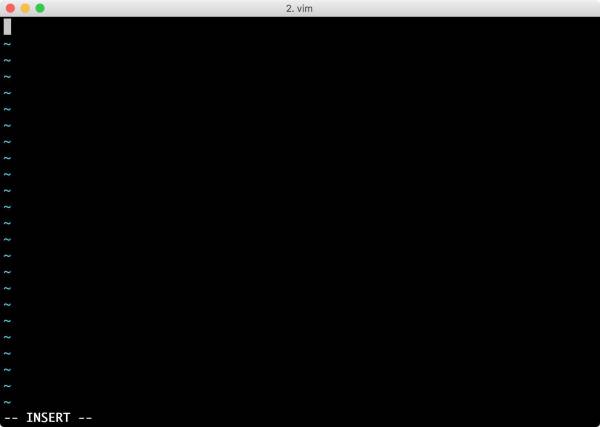
On the bottom left of the screen, we can see we are in insert mode. Now we can type in our configuration. You will want the following lines in the file:
syntax onset wrapmargin=8set number
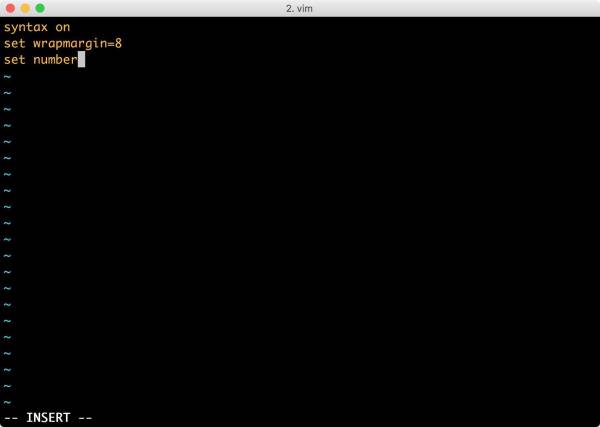
Syntax on enables built-in syntax highlighting for many programming languages and configuration files. Set wrapmargin=8 gives us an 8-character buffer before the end of the terminal and makes the screen more legible. Set number simply turns on line numbering.
Step 3 - Write Your Changes & Quit
We will now need to press the esc key in order to change Vim's mode back to command mode. The “INSERT” text at the bottom left of the screen should disappear when you are in command mode.
In order to write (w) and quit (q), we simply enter the following command, including the “:” colon character.
:wq
We now have a .vimrc file, and the next time we edit something with Vim, we will see the changes.
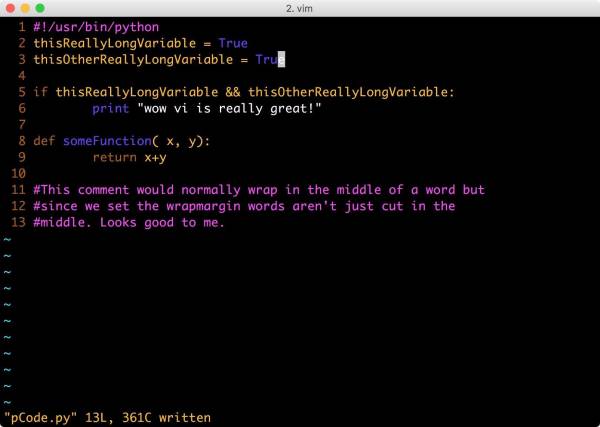
That looks a whole lot better.
Moving Around in Command Mode
When we're in command mode, we can move around the document quickly. The arrow keys will move around the document, as well as h, j, k, l—these keys work just like the arrow keys. If you've ever played Crawl, you will be very familiar with them.
Some additional movement keys:
ewill move you forward to the end of a wordwwill move you forward to the beginning of a wordbwill move you backward to the beginning of a word$will move you to the end of a line0(zero) will move you the beginning of a lineGwill move you to the end of a fileggwill move you to the start of a file
There are, of course, many more ways to move around a file, but these should cover most use-cases.
Searching a File
Often we will need to find strings in files, usually configuration, but it can also help with history files or anything else we maybe editing. For this, you will need to be in command mode. If you aren't sure what mode you are in, press the escape key, which will bring you back to command mode if you're not there already.
- For a simple search, we use / and then the string. For example, /password. If we were at the end of the file, we would use ?, as in ?password, to search backward.
- The n command will repeat the last forward search, and the N command will repeat the last backward search.
In order to search and replace, we use the :%s/search/replace/ syntax. You will need to enter the colon.
:%s/tcpdump/ls/will search the entire file and replace every instance of tcpdump with ls.:%s/myPrivEscalationScript/ls/cwill search the entire file and replace each instance only if you confirm it.
Vim also supports regular expressions in the same way that grep does.
Saving, Quitting & Shell Escaping
Exiting Vim is always a problem for people just starting out. In order to exit, use these commands:
:wwill write the file:wqwill write the file and quit:q!will exit the editor and discard all changes:w someFileNamewill write the changes to a file called someFileName
In some cases, we might want to escape to a shell to browse directory trees or look at other files. In order to execute a system command in Vim, we use the command:
:!command
This will execute whatever command we put after the bang. This can be a shell :!bash, which we can exit to return to Vim, or we could :!ls /etc to view the contents of the /etc directory.