KVM Hypervisor unter Redhat / CentOS 7
KVM ist eine Open Source Hardware Virtualisierungslösung, welche dazu gebraucht werden kann; um mehrere Linux basierende oder auch Windows basierende Systeme parallel auf einem Host zu betreiben.
KVM ist typischerweise bekannt als sogenannte “Kernel based Virtual Machine”. Dies ist so, weil nach der Installation des Pakets das KVM Module beim nächsten Boot mit dem Kernel geladen wird und so einen normalen Linux Server in einen Baremetal-Hypervisor verwandelt.
Nun werde ich beschreiben, wie genau so ein KVM Hypervisor aufgesetzt wird und wie man ihn anschliessend verwalten kann.
Bevor mit der Installation des Hypervisors begonnen wird, muss immer zuerst überprüft werden; ob die aktuelle Maschine überhaupt eine Virtualisierung unterstützt. Dies wird folgendermassen gemacht:
# grep -E '(vmx|svm)' /proc/cpuinfo
Wenn man nun den Output vmx oder svn bekommt ist alles in Ordnung. Wenn nichts kommt kann auf diesem Host nicht visualisiert werden.
Installation von KVM
Jetzt kann die Installation von KVM durchgeführt werden. Als erstes werden dafür die benötigten Pakages installiert.
# yum install qemu-kvm qemu-img virt-manager libvirt libvirt-python libvirt-client virt-install virt-viewer bridge-utils
Nach erfolgreicher Installation müssen die Services gestartet & aktiviert werden.
# systemctl start libvirtd
# systemctl enable libvirtd
Nun sollte überprüft werden, ob KVM erfolgreich seine beiden Core-Module laden konnte.
# lsmod | grep kvm
kvm_intel             162153  0
kvm                   525409  1 kvm_intel
Stimmt die Ausgabe mit der oben aufgelisteten Ausgabe in etwa überein, so sollte nun schon alles parat sein zum Virtualisierungen.
Wichtig zu Beachten:
Falls Redhat 7 oder CentOS 7 als minimal Installation installiert wurde, so fehlt nun noch das sogenannte x-window Pakage, welches jedoch zum anzeigen des Virt-managers unumgänglich ist. Zum nachinstallieren folgenden Befehl ausführen:
# yum install "@X Window System" xorg-x11-xauth xorg-x11-fonts-* xorg-x11-utils -y
Vorbereitungen zu starten des Virt-Managers
Befindet man sich auf einem Server mit GUI und arbeitet auch direkt auf diesem, so kann man ganz einfach via Konsole den virt-manager aufrufen und das Programm wird gestartet.
Ist man jedoch so wie ich, per Putty von einem Windows System aus verbunden, so wird dies nicht ganz so einfach funktionieren. Es muss nämlich hierzu zuerst noch ein spezielles Programm Namens: “Xming” auf dem Windows System installiert werden. Xming erlaubt es Grafikdarstellungen welche via SSH gesendet werden in Windows als eigenes Fenster Remote darzustellen. So können wir also dann später auch ganz einfach nur den virt-manager per Putty aufrufen und es sollte dann die besagte Konsole öffnen.
Xming Installation
Als erstes sollte wenn nicht schon passiert Xming HIER heruntergeladen und installiert werden.Anschliessend soll Xming gestartet werden.
WICHTIG:Nun müssen alle bestehenden Sitzungen von Putty zum Hypervisor getrennt werden!Als nächstes müssen wir dann in Putty selber bei der Hypervisor-Verbindung das X11 forwarding zulassen.Dazu geht man beim richtigen System (Nach dem laden des Putty Profiles) Unter Connection / SSH / X11 und setzt dort ein häcklein bei “Enable X11 forwarding.”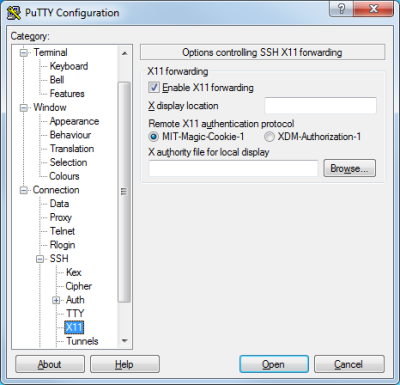
Nun kann man die veränderten Einstellung in der Session speichern; Und anschliessend die Putty Verbindung neu aufbauen.
Hat nun alle geklappt kann, jetzt auch von der Putty Session aus ganz einfach mit dem Befehl: “virt-manager” die Management Oberfläche von KVM gestartet werden.
Starten des Virt Managers
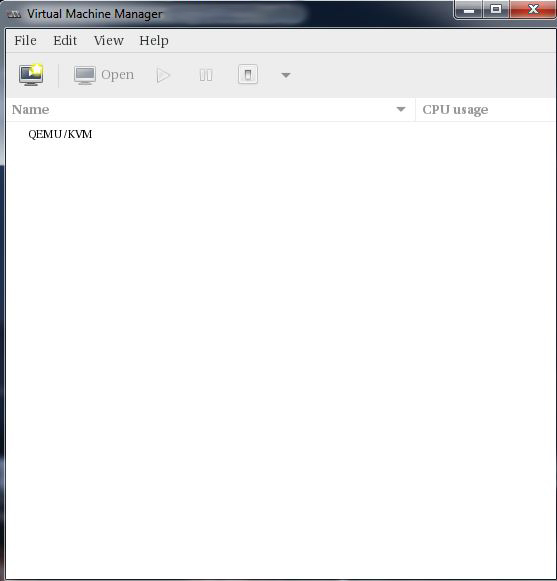
Virt Manager is a graphical tool through which we can install and manage virtual machines. To start the virt manager type the 'virt-manager' command from the terminal.
# virt-manager
Configure Bridge Interface
Before Start creating VMs , let’s first create the bridge interface. Bridge interface is required if you want to access virtual machines from outside of your hypervisor network.
# cd /etc/sysconfig/network-scripts/
# cp ifcfg-eno49 ifcfg-br0
Edit the Interface file and set followings:
# vim ifcfg-eno49
TYPE=EthernetBOOTPROTO=staticDEVICE=eno49ONBOOT=yesBRIDGE=br0
Edit the Bridge file (ifcfg-br0) and set the followings:
# vim ifcfg-br0
TYPE=BridgeBOOTPROTO=staticDEVICE=br0ONBOOT=yesIPADDR=192.168.1.21NETMASK=255.255.255.0GATEWAY=192.168.1.1DNS1=192.168.1.1
Replace the IP address and DNS server details as per your setup.
Restart the network Service to enable the bridge interface.
# systemctl restart network
Check the Bridge interface configuration, with the command below:
# ip addr show br0
Start Creating Virtual Machines.
Create Virtual Machine either from the command line using 'virt-install' command or from GUI (virt-manager)
Now let’s Create a virtual machine of Windows Server 2012 R2 using virt-manager.
- Start the “virt-manager”
- Go to the File Option, click on
New Virtual Machine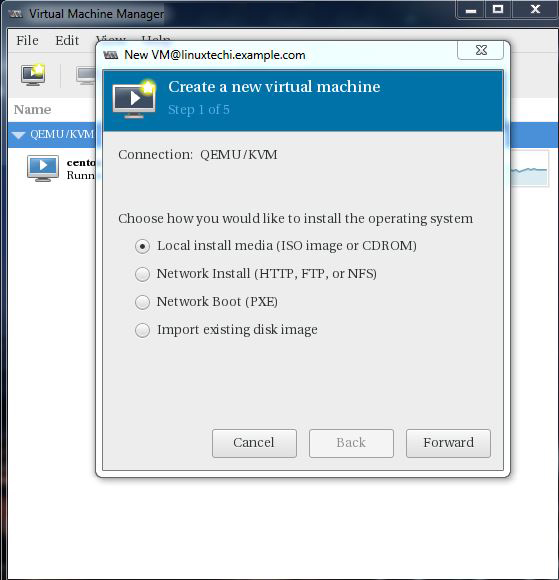
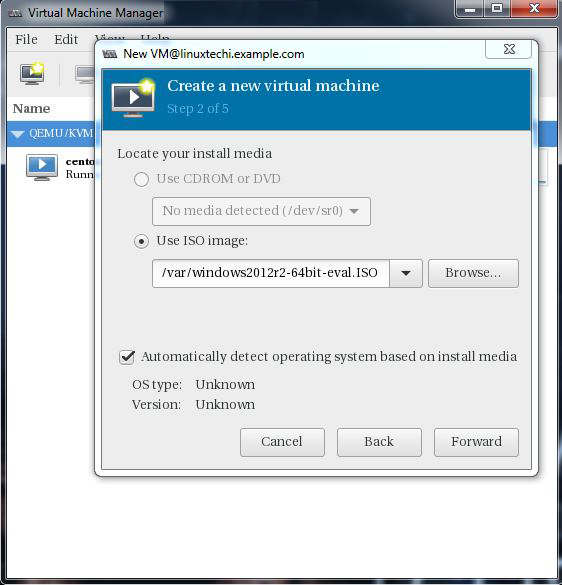
- We will be using ISO file as installation media. In the next step Specify the path of ISO file.
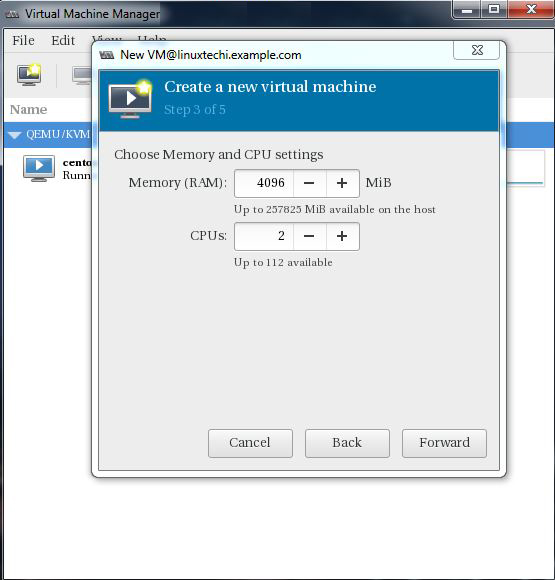
- Click on Forward. And specify the Compute Resources : RAM and CPU as per your setup.
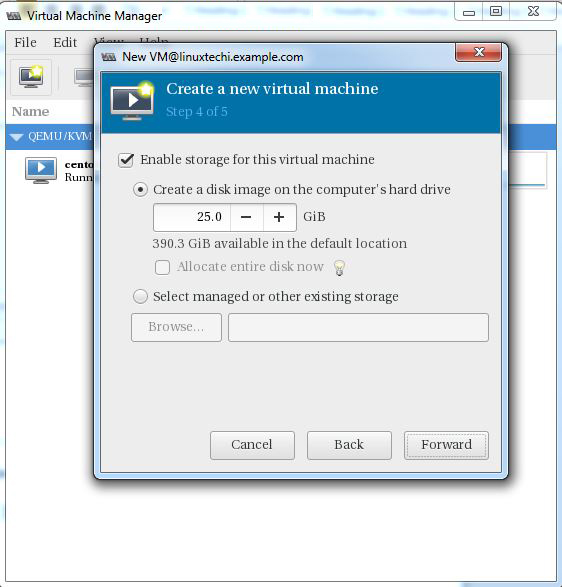
- Click on Forward to proceed further. Then specify the storage Size of Virtual Machine, In my case I am using 25G.
- In the Next step Specify the Name of Virtual Machine and select network as Bridge br0
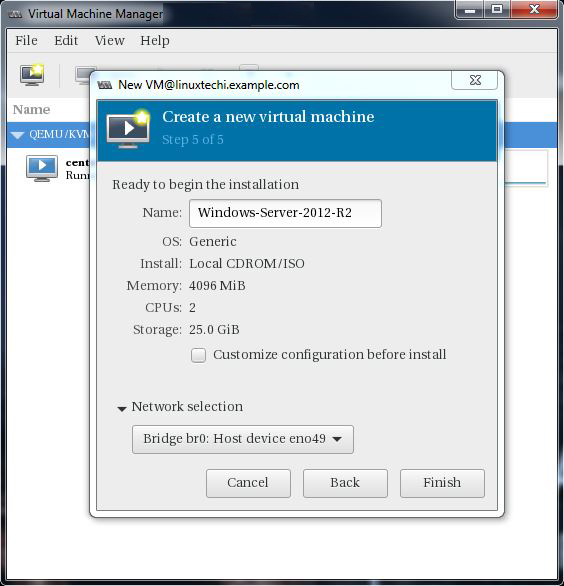
- Click on Finish to start the installation.
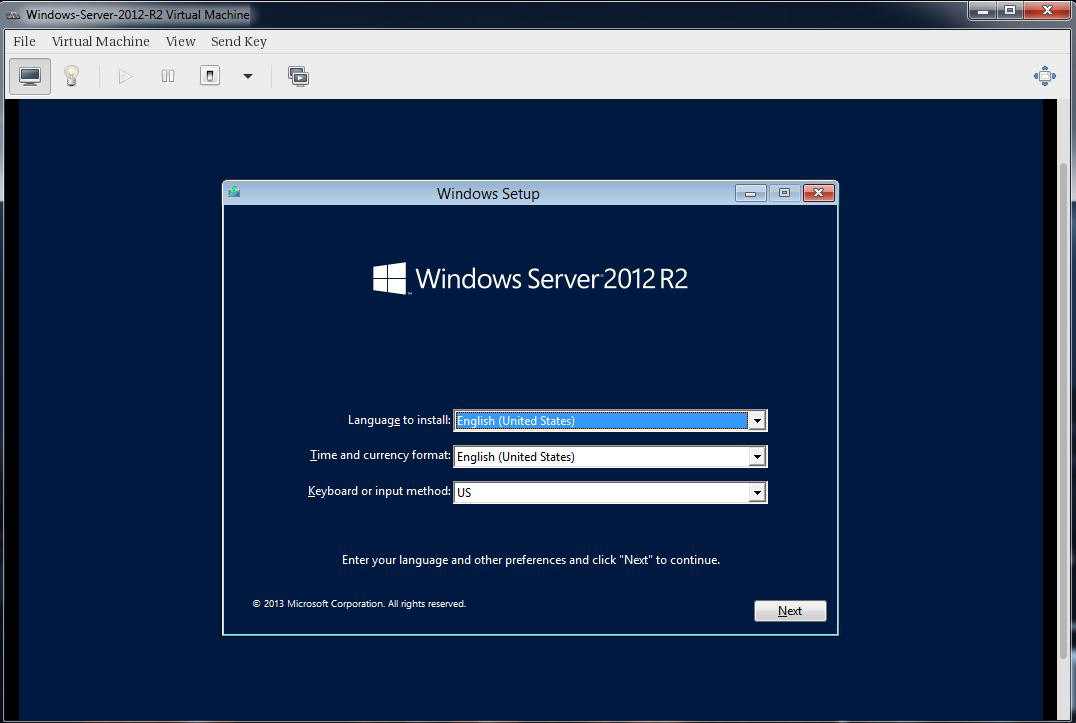
Follow the screen instructions and complete the installation.
Creating a virtual Machine from Command Line:
Virtual Machines can be created from the console as well using the virt-install command. In the following example i'm going to install an virtual machine with Ubuntu 16.04 LTS.
# virt-install --name=Ubuntu-16-04 --file=/var/lib/libvirt/images/ubuntu16-04.dsk --file-size=20 --nonsparse --graphics spice --vcpus=2 --ram=2048 --cdrom=ubuntu-16.04-server-amd64.iso --network bridge=br0 --os-type=linux --os-variant=generic
The above virt-install command consitst of following options :
–name = <Name of the Virtual Machine>–file = <Location where our virtual machine disk file will be stored >–file-size = < Size of the Virtual Machine, in my case it is 20GB >–nonsparse = < Allocate the whole storage while creating>–graphics = < Specify the graphical tool for interactive installation, in above example I am using spice >–vcpu = < Number of virtual CPU for the Machine >–ram = < RAM size for the virtual Machine >–cdrom = < Virtual CD ROM which specify the installation media like ISO file >–network = < it is used to specify which network we will use for the virtual machine, in this example I am bridge interface>–os-type = < Operating system type like linux and window>–os-variant= <KVM maintains the OS variants like ‘fedora18′, ‘rhel6’ and ‘winxp’ , this option is optional and if you not sure about OS variant you can mentioned it as generic>
Open now the Virt Viewer (on Windows) and follow the instruction to complete the installation.
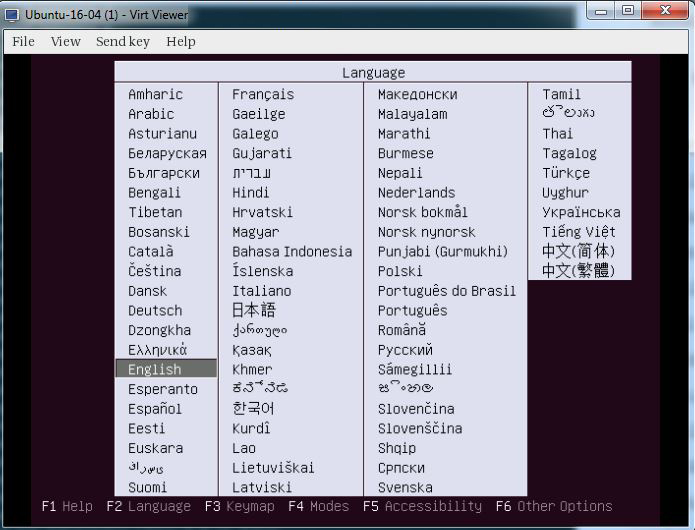
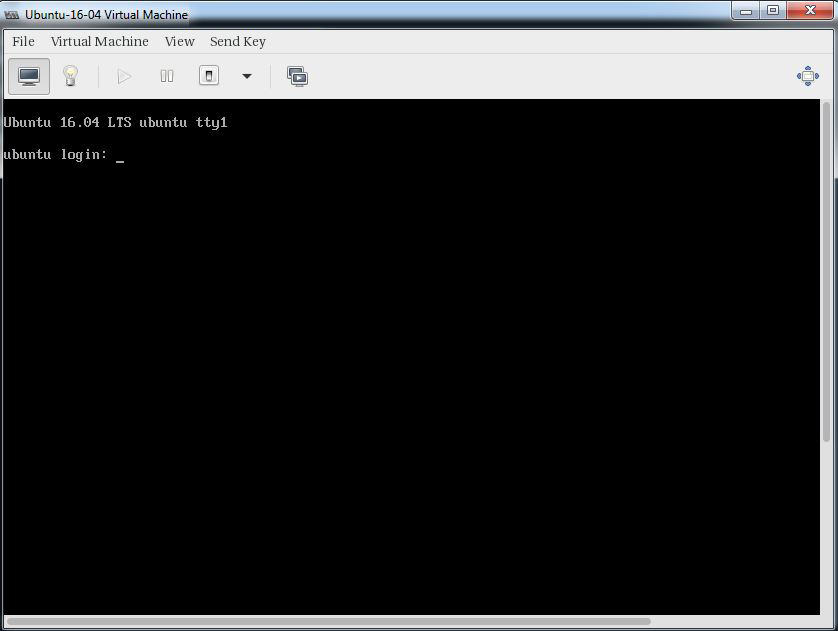
Follow the instruction now and complete the installation.
Once the Installation is completed we can access the Virtual Machine console from ‘virt-manager‘ as shown below.
That’s it, basic installation and configuration of KVM hypervisor is completed.
KVM Manageing (web-Based):
Solutions to manage and supervise virtual machines over a WebGUI.
Alternativ, komplette KVM-Virtualisierungs-Plattformen: